Typography in InDesign isn’t just about choosing pretty fonts—it’s about creating a system. And the most efficient way to manage that system is through styles: Paragraph Styles, Character Styles, Object Styles, and even Nested Styles. Once set up, they allow for lightning-fast formatting, easy global updates, and consistent visual hierarchy across your document.
In this article, we’ll show you how to harness the full power of styles to work smarter with text in InDesign.
Why Styles Matter
Without styles, every design change—like adjusting a heading font or updating body text size—has to be done manually, page by page. With styles, one change updates everything, instantly. They also help:
- Maintain visual consistency
- Speed up your workflow
- Prepare files for collaboration or template reuse
- Create accessible, structured documents
Types of Text Styles in InDesign
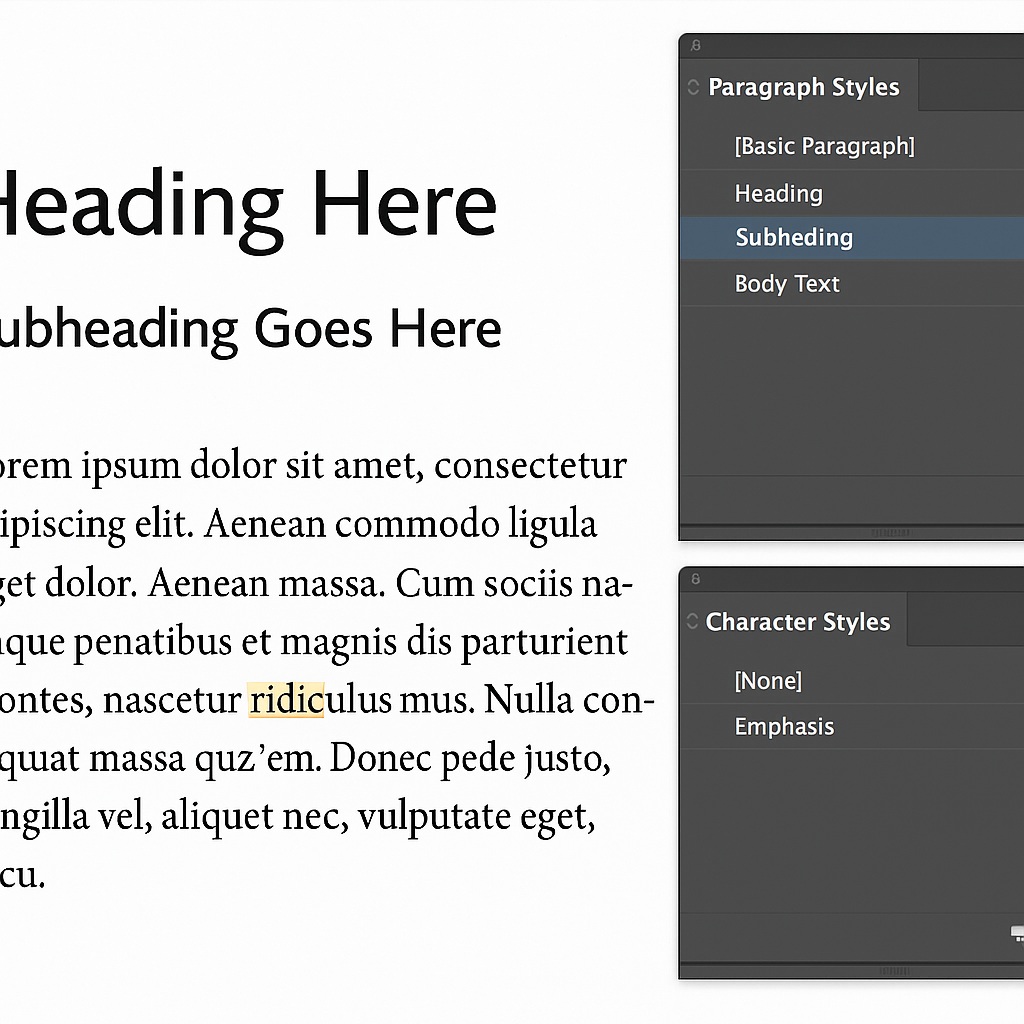
- Paragraph Styles
Apply to entire paragraphs. Includes font, size, spacing, alignment, indents, etc.
Example: “Body Text,” “H1 – Heading,” “Quote” - Character Styles
Apply to selected text inside a paragraph. Includes font, color, bold, italic, etc.
Example: “Emphasis Italic,” “Brand Color Link” - Nested Styles
Allow multiple character styles to be automatically applied within a single paragraph style, based on triggers like punctuation or word count.
Example: Automatically bold the first few words of a paragraph. - Object Styles with Text Settings
You can also apply a paragraph style inside an object style—formatting text boxes and their contents in one step.
How to Create Paragraph and Character Styles
- Format Your Text First
Select some text and apply the look you want manually (font, size, spacing). - Open the Styles Panel
- Paragraph: Window > Styles > Paragraph Styles
- Character: Window > Styles > Character Styles
- Create a New Style
Click the New Style icon. Name your style and click OK.
Double-click to edit options like hyphenation, justification, and nested styles. - Apply the Style
Select any text and click the style name in the panel.
Nested Styles Example
Let’s say you want to style a product name in bold, followed by a description in regular weight, all in the same line. You can:
- Create a character style for bold text
- Inside the paragraph style, go to Drop Caps and Nested Styles
- Add a rule like “Apply [Bold Style] through first sentence” or until a colon or en-dash
Pro Tips for Using Styles
- Use based-on styles to link heading levels—change one and the others update
- Set up styles in your template files to save time
- Use Quick Apply (
Cmd/Ctrl + Return) to apply styles without clicking - Name styles clearly, like “H1 – Page Title” or “Body – Justified”
When Should You Use Styles?
- Editorial layouts with repeated structure
- Brochures, flyers, or ads with branded text hierarchy
- Interactive PDFs with accessible reading order
- Long documents like books or reports with many chapters
Final Thoughts
Using styles in Adobe InDesign is the fastest way to become a more efficient and professional designer. It helps you work smarter, not harder—while keeping your layouts flexible, consistent, and easy to update.


