Slide decks with style—and full creative control.
Most people think of PowerPoint or Keynote for presentations—but Adobe InDesign offers a sleek, design-driven alternative. With InDesign, you can create interactive presentations that feature custom layouts, transitions, and navigation—all exported as a self-contained, clickable PDF.
Perfect for proposals, digital portfolios, brand decks, or pitch documents, InDesign presentations give you complete control over layout and typography—without sacrificing interactivity.
Here’s how to build one from start to finish.
🖥️ Why Use InDesign for Presentations?
Unlike traditional slide software, InDesign lets you:
- Design slides with precision typography and layout tools
- Embed buttons, transitions, and page navigation
- Export to a lightweight, portable PDF
- Maintain brand consistency with styles and templates
- Work in multi-page documents with grid-based systems
📐 Step 1: Set Up Your Presentation Document
- Go to File > New > Document
- Uncheck Facing Pages
- Set your page size:
- 1920 x 1080 px (HD landscape presentation)
- Or A4 landscape for printable decks
- Add as many pages as needed for your slides
- Set margins and use guides or grids for layout control
Optional: Create a Master Page with recurring elements like logos, slide numbers, or footers.
🎨 Step 2: Design Each Slide
Each page = one slide.
Use InDesign’s layout power to:
- Add text boxes, images, infographics, charts
- Use Paragraph Styles for consistent headers and body text
- Add visual hierarchy with typography and spacing
- Insert shapes or backgrounds for contrast
Keep slides clear and focused—one key message per slide.
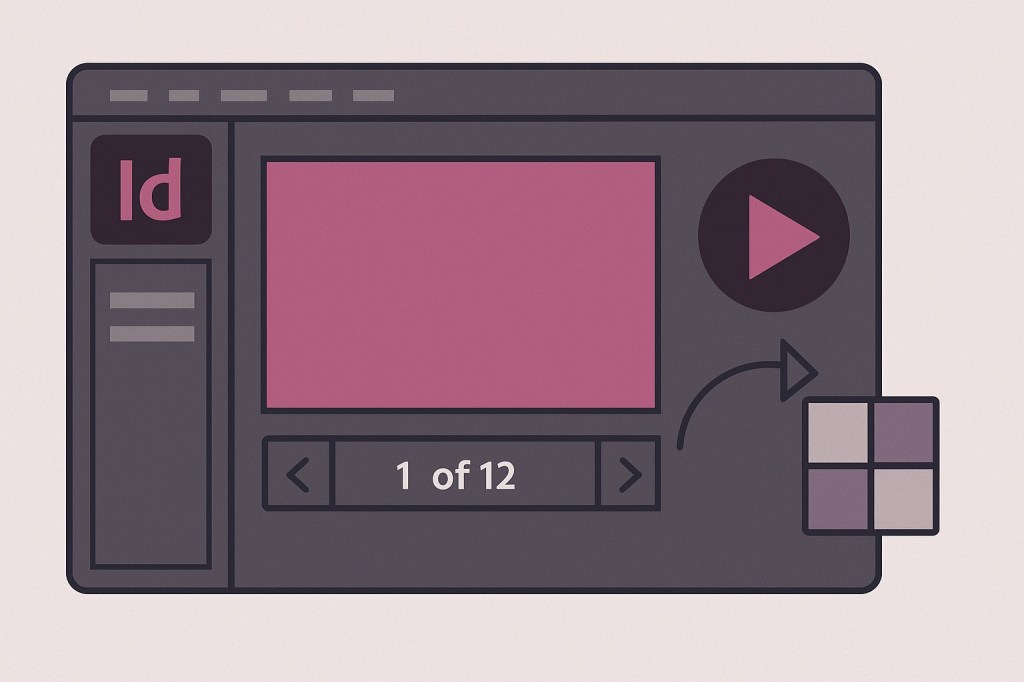
🔘 Step 3: Add Interactive Elements
Go to:
Window > Interactive > Buttons and Forms
You can add:
- Next/Previous buttons to navigate slides
- Hyperlinks to external sites
- Buttons to jump to specific pages (e.g., slide 3 for Q&A)
To create a button:
- Draw a shape (like a triangle or rectangle)
- Select it and open the Buttons and Forms panel
- Set Type to Button
- Choose Action: e.g., “Go to Next Page”
Repeat for all interactive elements.
🔄 Step 4: Add Page Transitions
Page transitions add subtle movement between slides.
- Go to Window > Interactive > Page Transitions
- Select a page and choose a transition (e.g., Fade, Wipe, Slide)
- Apply to individual pages or Apply to All Spreads
Note: Transitions are only visible in full-screen view in Adobe Acrobat or Reader.
📤 Step 5: Export as Interactive PDF
- Go to File > Export
- Format: Adobe PDF (Interactive)
- In the export dialog:
- Check Open in Full Screen Mode
- Include All interactive elements and transitions
- Set initial view: Fit Page or Fit Width
Click Export. Test the PDF in Acrobat Reader for full interactivity.
💡 Pro Tips
- Use object styles for buttons to maintain design consistency
- Create table of contents slides with clickable links
- Keep file size down by compressing large images
- Save as a template for future decks
- Avoid heavy animations—keep transitions subtle and professional
📘 Final Thought
Adobe InDesign presentations aren’t just pretty—they’re powerful. With full design control, interactive navigation, and clean export options, they’re a perfect fit for professionals who care about polish and presentation.
Design beyond slides. Present with purpose.


