Polish your brand with professional print assets.
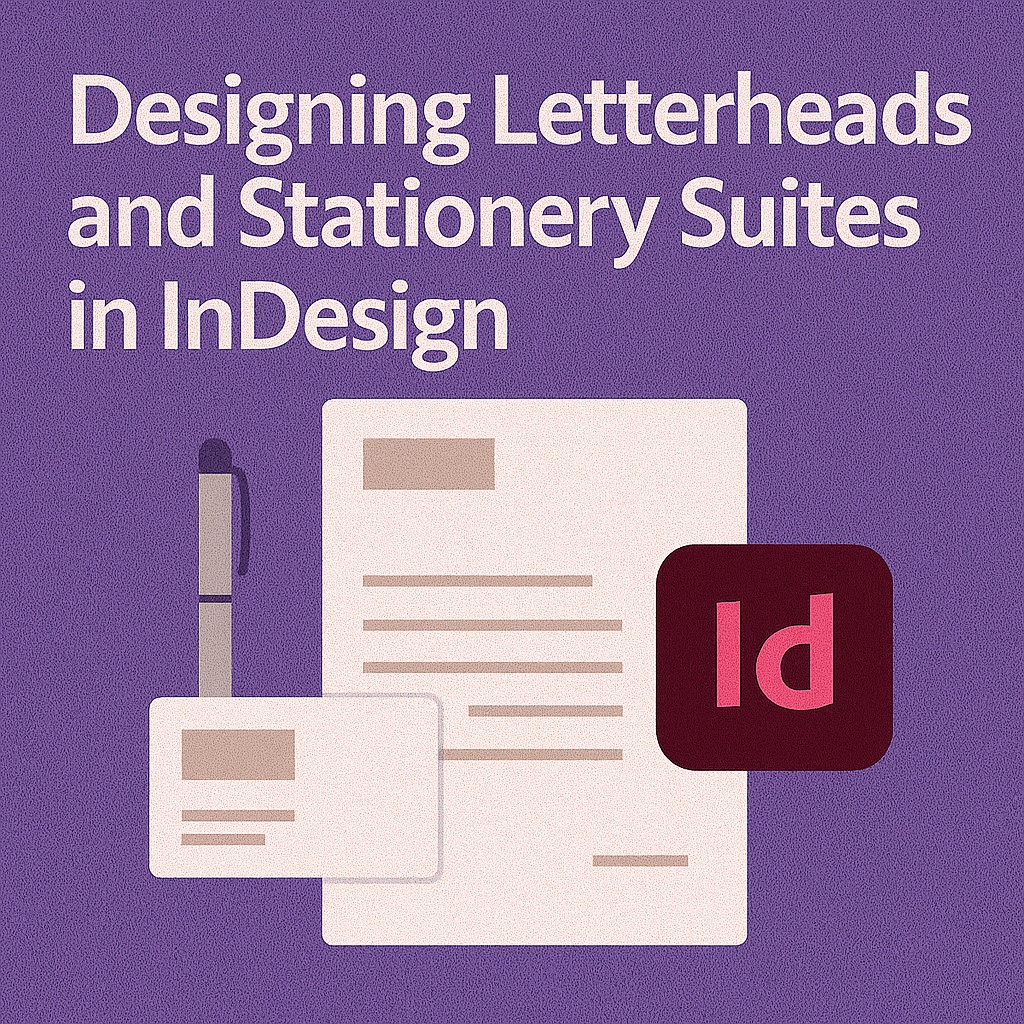
A consistent and well-designed stationery suite reinforces brand identity and leaves a lasting impression. Whether you’re working on letterheads, envelopes, business cards, or notepads, Adobe InDesign gives you the layout precision and brand control you need.
This guide walks you through designing a cohesive stationery system in InDesign—from setup to export.
📄 Step 1: Define the Stationery Components
A typical stationery suite includes:
- Letterhead (A4 or US Letter)
- Envelope (DL, #10, or custom size)
- Business card (usually 3.5″ × 2″)
- Compliment slip or notepad (optional)
Start by listing what you need and gathering your brand assets—logo, fonts, colors, and legal text (e.g., registration numbers or disclaimers).
📐 Step 2: Set Up Document Sizes
Create a separate document for each component using File > New > Document:
- Use standard sizes or match printer specifications
- Add 0.125″ (3mm) bleed on all sides
- Set clear margins to keep important text inside safe zones
- Enable Facing Pages only if designing folded formats (e.g., brochures)
Tip: Save each document as part of a book file (.indb) if you want to keep the whole set together.
🎨 Step 3: Establish a Style Guide
- Define Paragraph Styles for:
- Name
- Address
- Footer notes
- Contact details
- Create Color Swatches using official brand colors (CMYK for print)
- Use Object Styles for shapes like logos or boxes
This ensures design consistency and speeds up changes.
🖼️ Step 4: Lay Out Your Letterhead
A clean letterhead usually includes:
- Company logo (top left or centered)
- Business address (top right or footer)
- Contact info, tagline, or legal notes (bottom margin)
- Plenty of white space for actual content
Use guides and baseline grid to align text precisely.
💼 Step 5: Design Business Cards
- Front: name, title, contact info, logo
- Back: branding or left blank for notes
- Apply paragraph styles consistently
- Mind the bleed: make sure background colors or borders extend fully
- Ensure text is at least 6pt for readability in print
Optional: Add a QR code that links to your website or digital profile.
✉️ Step 6: Create Envelope Layouts
- Start with printer specs (e.g., DL envelope: 110mm × 220mm)
- Place return address in the top left or back flap
- Leave clear areas for stamps and postal marks
- Add brand elements subtly for elegance
🧪 Step 7: Proof and Export
- Use View > Overprint Preview to simulate print
- Print a test on home/office printer for scale
- Ensure all images are 300 DPI and CMYK
Exporting:
- Go to File > Export > Adobe PDF (Print)
- Use High Quality Print preset
- Enable Crop Marks and Use Document Bleed Settings
- Save each file with a clear name (e.g.,
Letterhead_PrintReady.pdf)
🧠 Pro Tips
- Keep legal information subtle but legible
- Use Creative Cloud Libraries to sync branding assets across components
- Ask your printer if they need files imposed or single pages
- For digital versions (e.g., fillable PDFs), add form fields using InDesign’s Buttons & Forms panel
📘 Final Thought
Your stationery represents your brand in the real world. With Adobe InDesign, you can craft a professional, pixel-perfect stationery suite that aligns with your visual identity and communicates trust at every touchpoint.
Don’t just send a letter—send your brand.


