Design faster. Stay on-brand every time.
Whether you’re managing design for a company, client, or campaign, a well-organized brand kit in InDesign saves time and ensures consistency. Instead of re-creating colors, fonts, and assets for every new project, you can build a reusable foundation that keeps everything aligned and ready to go.
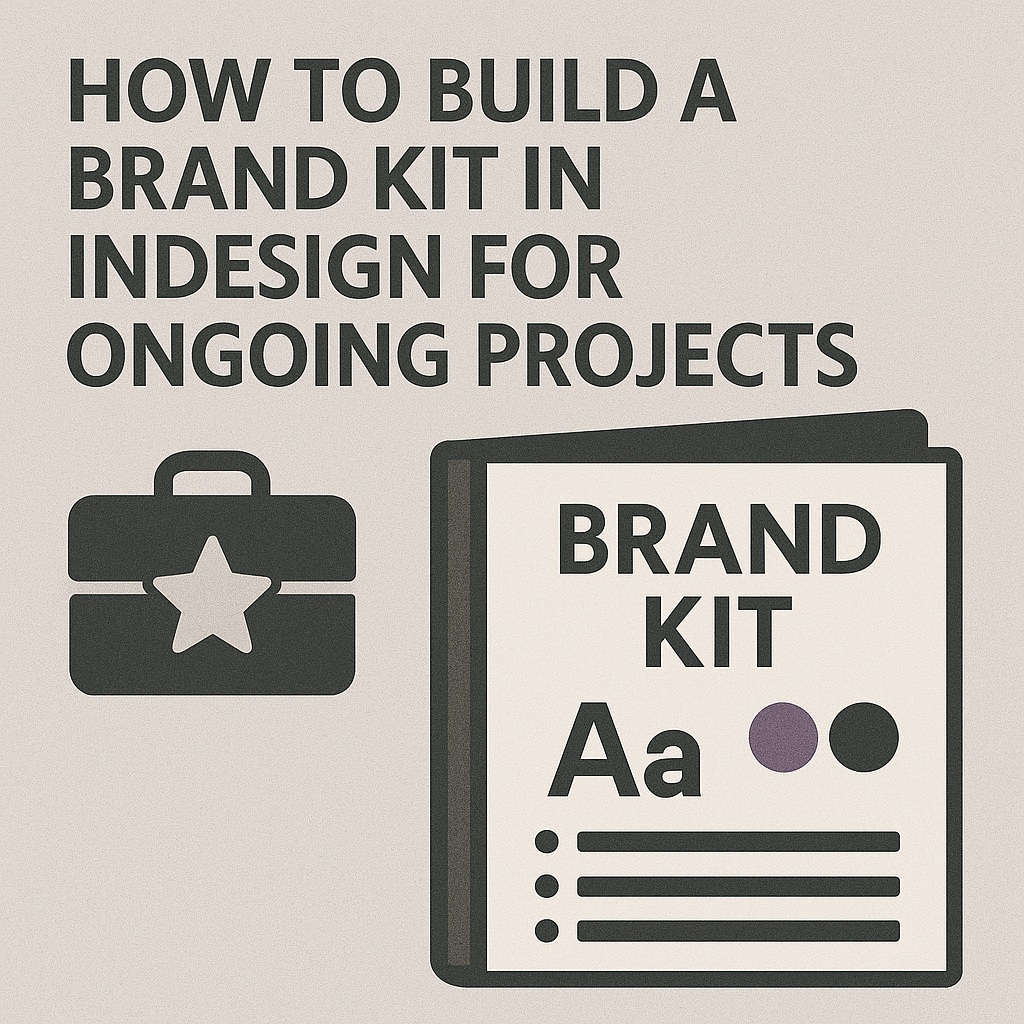
In this guide, you’ll learn how to set up a complete brand kit inside Adobe InDesign for use across brochures, business cards, presentations, and more.
🧱 Step 1: Set Up a New Template File
- File > New > Document
- Choose a standard format (e.g., Letter, A4) with appropriate margins and bleeds
- Set up Facing Pages if your projects often use spreads
- Name and save this file as your Brand Kit Template (.indt)
Tip: This will serve as your base for all branded content moving forward.
🎨 Step 2: Define Your Brand Colors
- Go to Window > Color > Swatches
- Click the panel menu and select New Color Swatch
- Add your primary, secondary, and accent colors using CMYK or RGB values
- Give each color a clear, descriptive name (e.g., “Primary Navy” or “Accent Coral”)
Use Color Groups to organize multiple palettes (e.g., light mode, dark mode).
🅰️ Step 3: Set Up Paragraph & Character Styles
- Open Window > Styles > Paragraph Styles
- Create base styles for:
- Headline
- Subhead
- Body copy
- Caption
- Pull quote
- Use Character Styles for inline formatting like bold emphasis or colored keywords
Be sure to match fonts, sizes, leading, and spacing to your brand guidelines.
🧩 Step 4: Add Master Pages with Branding Elements
Master Pages allow you to lock in reusable layout components. Include:
- Logos (in header or footer)
- Page numbers
- Section titles
- Watermarks or background elements
- Social media or website info
You can create multiple Master Pages for different content types (e.g., “Marketing Master,” “Internal Report Master”).
🖼️ Step 5: Create Object Styles for Images and Shapes
If your brand uses specific image treatments:
- Go to Window > Styles > Object Styles
- Define object settings like:
- Stroke color
- Corner radius
- Shadow or transparency
- Text wrap or image fitting
Object Styles make it easy to apply consistent visual treatments with a single click.
🗃️ Step 6: Build a Linked Library
- Open the CC Libraries panel (Window > CC Libraries)
- Add:
- Logos (vector)
- Brand icons
- Color themes
- Approved photography
- Sample layouts or snippets
You can reuse these assets across InDesign, Illustrator, and Photoshop—all synced via Creative Cloud.
📤 Step 7: Save, Share, and Reuse
- Save your document as an .INDT template file
- Store it in a shared folder, Dropbox, or Creative Cloud
- Encourage your team to always start from the template
- Schedule updates as the brand evolves
🧠 Pro Tips
- Include a brand notes page inside the file explaining how to use styles
- Use layer names (e.g., “TEXT,” “IMAGES,” “GRID”) to keep layouts tidy
- Add example pages for reference: flyer layout, case study, or one-pager
- Keep versions dated to track changes over time (e.g., BrandKit_2025_v1.indt)
📘 Final Thought
A brand kit in Adobe InDesign is more than just a file—it’s a design system. With reusable styles, organized assets, and locked-in layouts, you’ll work faster and stay on-brand every time.
Templates are tools for consistency. Start building yours today.


