Consistency is king—and templates make it effortless.
Whether you’re working at a design agency, managing a corporate brand, or freelancing for multiple clients, having a branded InDesign template saves time and ensures visual consistency across every project.
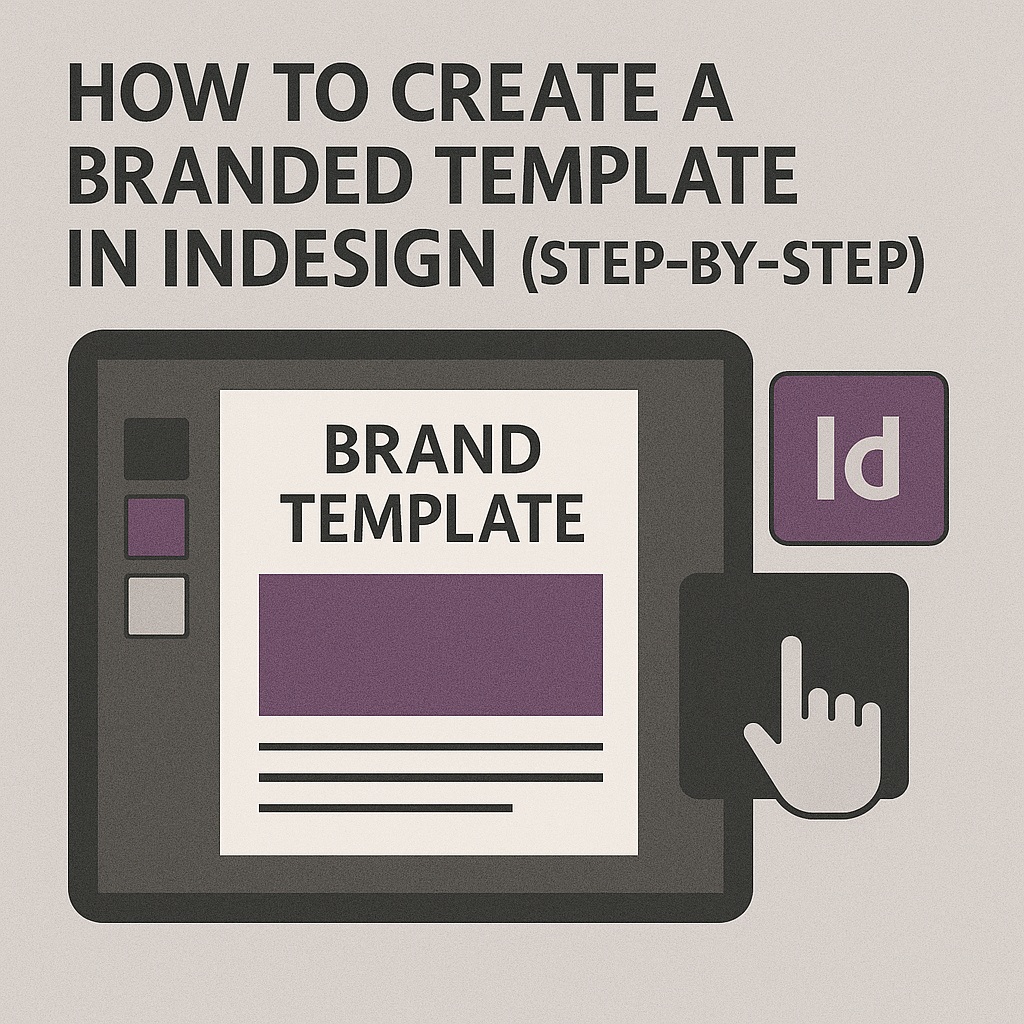
This Adobe InDesign step-by-step guide shows you how to create a polished, reusable template that reflects your brand—from logo placement and typography to color palettes and master pages.
🧱 Step 1: Set Up the Document
Start fresh:
- Go to File > New > Document
- Set the correct page size, orientation, and margins based on your use case (e.g., A4, Letter, brochure, slide deck)
- Add bleed if the design will be printed (e.g., 0.125 inches)
Tip: If your brand uses fixed margins or column widths, apply them here.
🎨 Step 2: Define Your Brand Elements
Logo & Brand Assets:
- Import your logo in vector format (AI, EPS, or SVG)
- Create a designated placement zone (header, footer, cover, etc.)
- Lock it on the Master Page to prevent accidental edits
Color Palette:
- Go to Window > Color > Swatches
- Create new swatches for brand colors
- Use consistent naming like “Primary Blue” or “Accent Yellow”
Typography:
- Define Paragraph Styles and Character Styles for:
- Headlines
- Subheads
- Body text
- Pull quotes
- Set fonts, sizes, weights, tracking, and line spacing to match brand guidelines
📄 Step 3: Create Master Pages
Use Master Pages to define layout structure:
- Include grid systems, page numbers, branding elements, and spacing rules
- Create variants (e.g., A-Master for content pages, B-Master for section openers)
- Add footer elements like website URLs, social media handles, or contact info
This ensures every new page inherits your brand system.
🧩 Step 4: Build Placeholder Layouts
Create sample layouts using placeholder content:
- Use Lorem Ipsum for text boxes
- Insert placeholder images (gray boxes or sample art)
- Add guides and label layers clearly
- Include annotations or locked notes for collaborators
Keep layout flexible while showing structure.
🗃️ Step 5: Save as an InDesign Template File
When your layout is complete:
- Go to File > Save As
- Choose InDesign Template (.indt)
- Name it descriptively (e.g., “Brand_Brochure_Template.indt”)
- Store it in a shared folder or template library
Anyone opening this file will be prompted to save a copy, preserving the original template.
🧠 Pro Tips
- Use Layers to separate background, text, images, and guides
- Lock reusable elements like logos and footers
- Set up Object Styles for repeat elements (e.g., photo frames with captions)
- Include notes or style guides in non-printing layers
- Regularly update templates as your brand evolves
📘 Final Thought
Branded templates bring clarity and professionalism to every document you create. With Adobe InDesign, you can build a flexible, reusable foundation that keeps your work consistent—whether it’s a brochure, flyer, or editorial layout.
Design once. Reuse forever. Build your brand with confidence.


